Setting up Microsoft Authenticator on your Maple Bear email account
Summary: The content of this article provides instructions on how to set up Microsoft Authenticator as a two-step security method for your Maple Bear email account.
Article Content:
1. Access My Account in the Maple Bear email portal
How to access My Account Maple Bear email portal.
2. Download the Microsoft Authenticator app
How to download the Microsoft Authenticator app
3. Setting up Microsoft Authenticator with your Maple Bear email account
How to set up Microsoft Authenticator with your Maple Bear email account.
- Step 1: Access My Account in the Maple Bear email portal
1
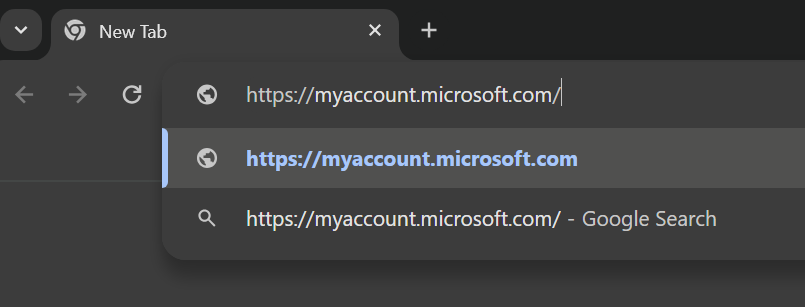
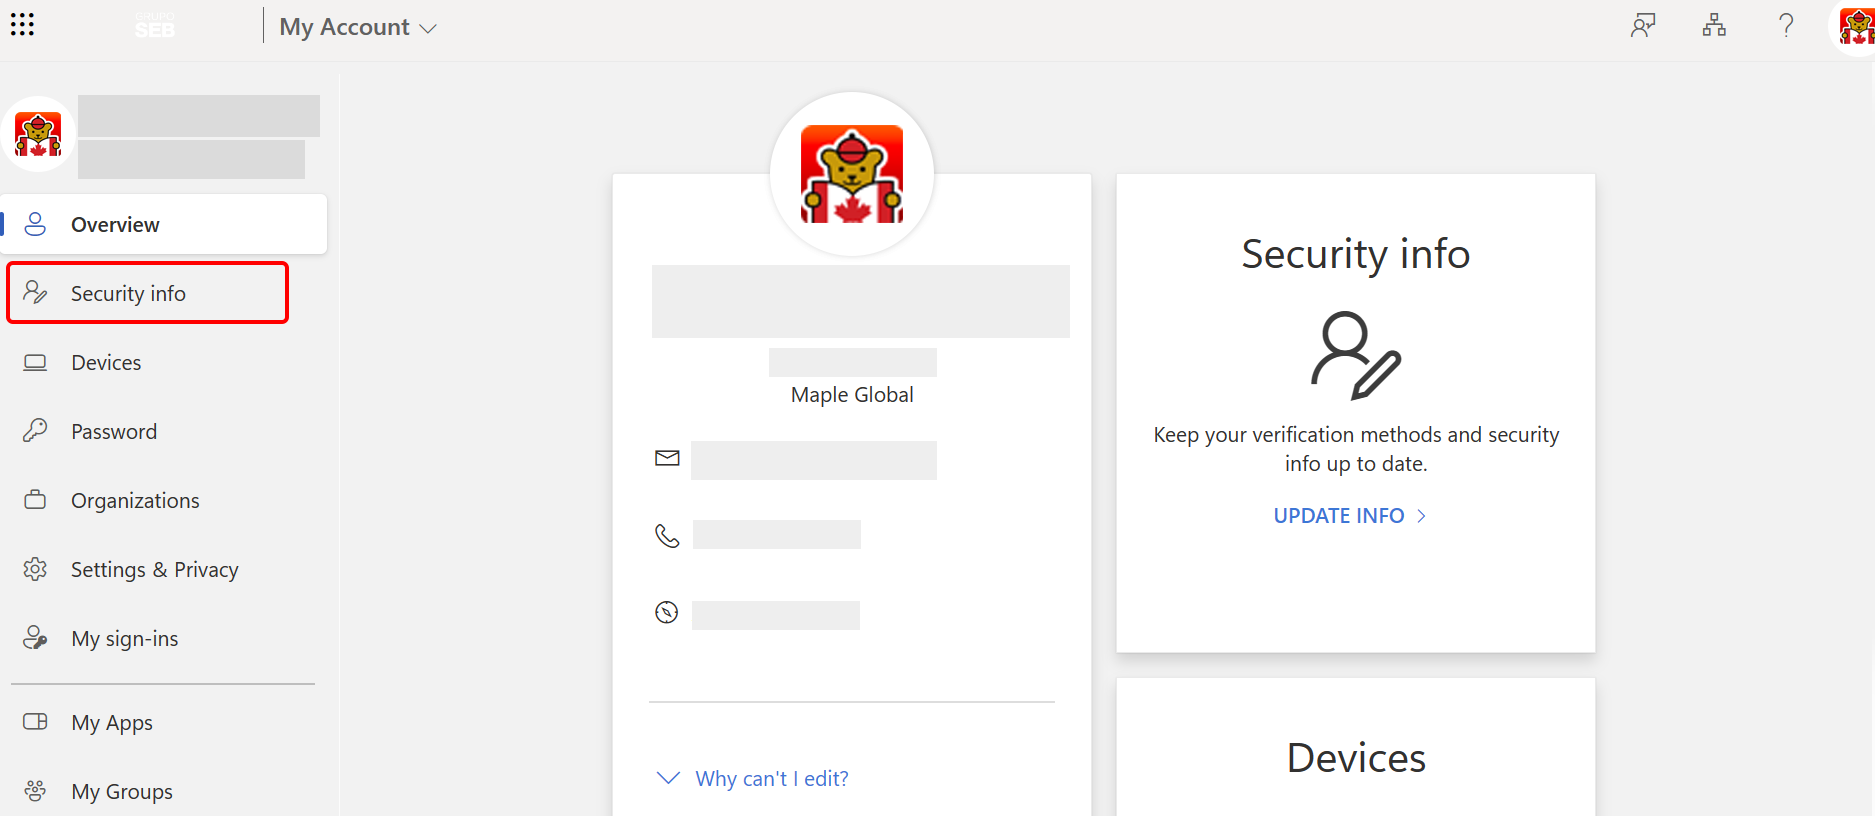
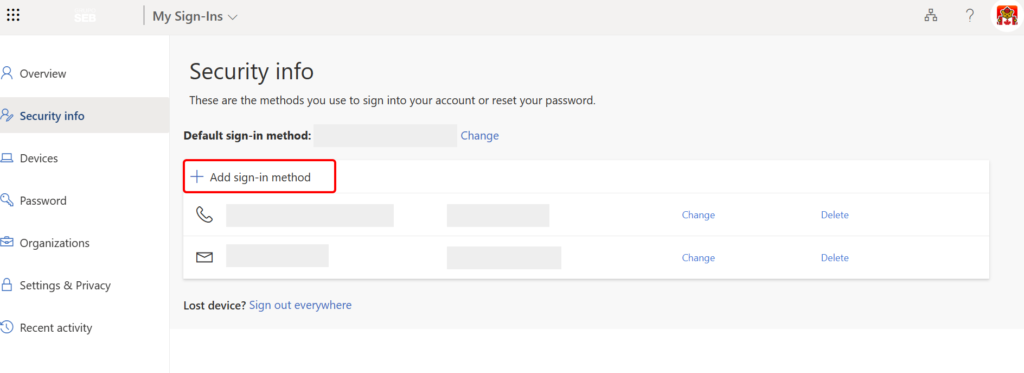
Log in to your Maple Bear email account in the Office Portal, then go to My Account portal > .
What is an Internet Browser?
Examples of Internet browser names:
Google Chrome, Mozilla Firefox, Safari or Microsoft Edge.
The Internet browser can run on operating systems such as Windows, macOS, Linux, Android and iOS. Each operating system has its specific supported browser version.
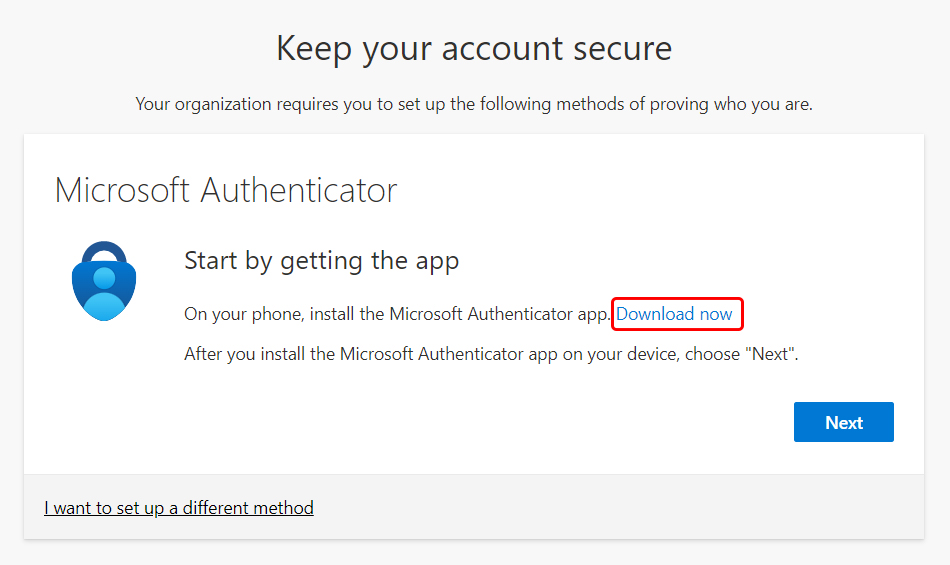
- Step 2: Download the Microsoft Authenticator app
1
2
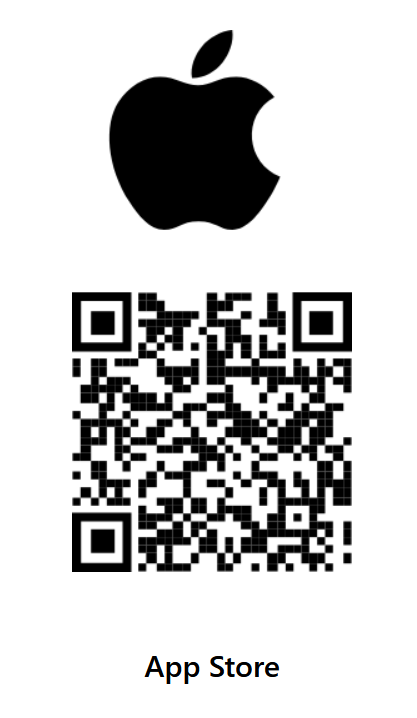
- Access your cell phone camera .
- Point to the QR code .
- Scan the QR code with your iOS mobile device.
4. When accessing the Apple Store, download and install the application on your cell phone.
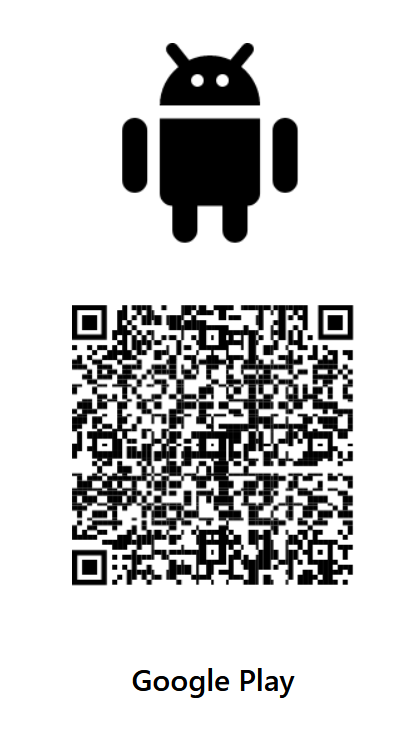
- Access your cell phone camera .
- Point to the QR code .
- Scan the QR code with your Android mobile device.
4. When accessing the Google Play, download and install the application on your cell phone.
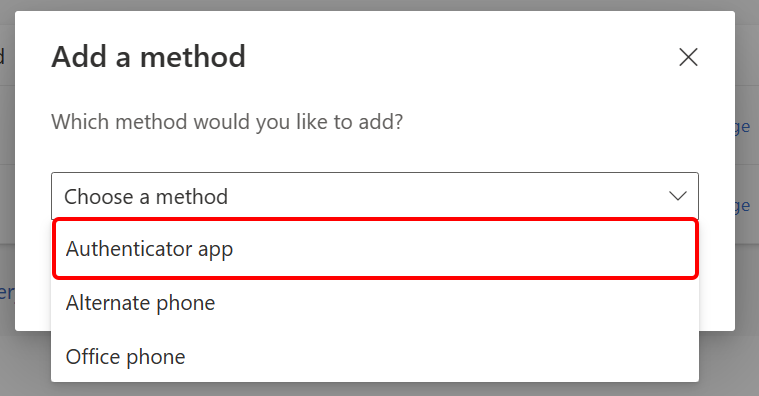
- Step 3: Setting up Microsoft Authenticator with your Maple Bear email account
3
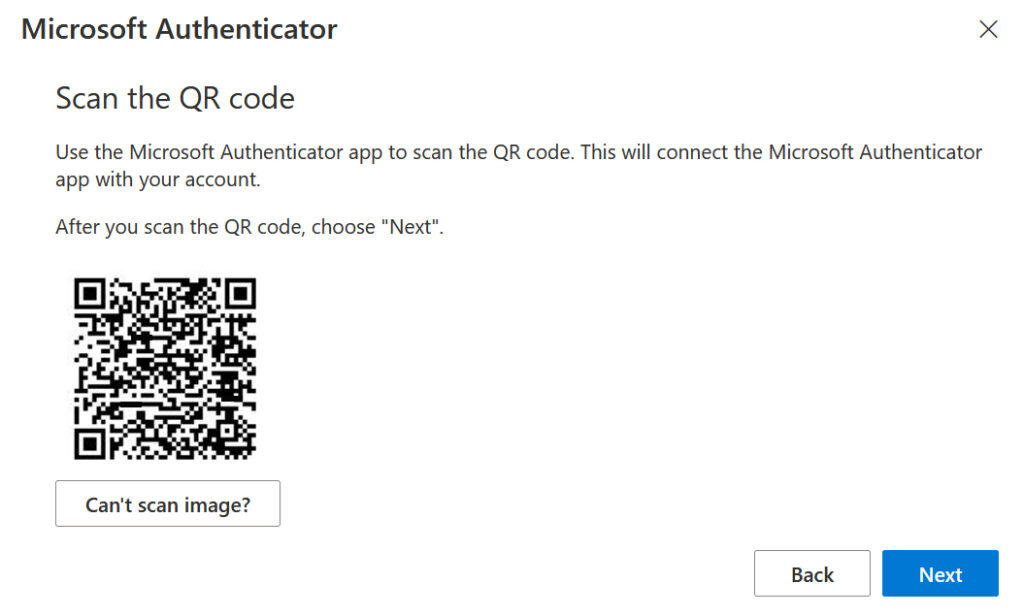
With the Microsoft Authenticator app open, scan the QR Code of your account.
Step by step instructions on how to scan the QR code with Microsoft Authenticator click the button below:
1. With the Microsoft Authenticator app open, click the '+' button in the top right corner of the app to add an account.
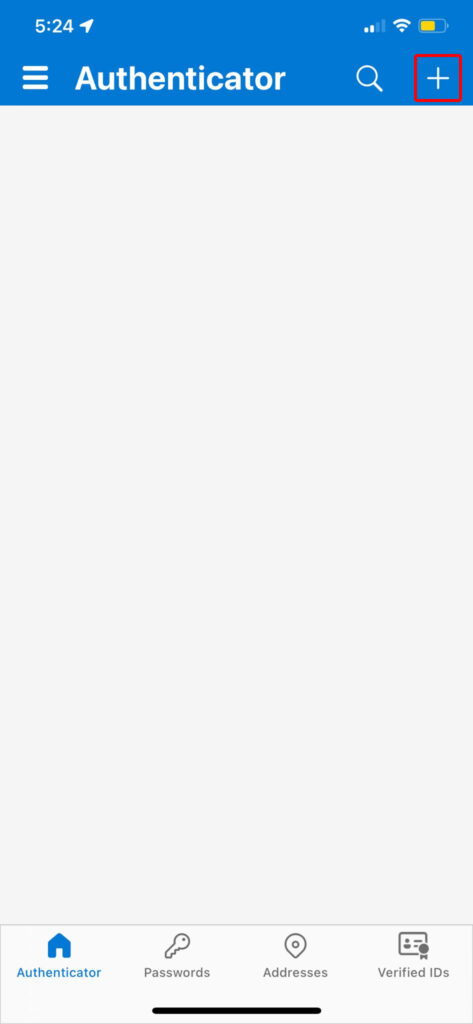
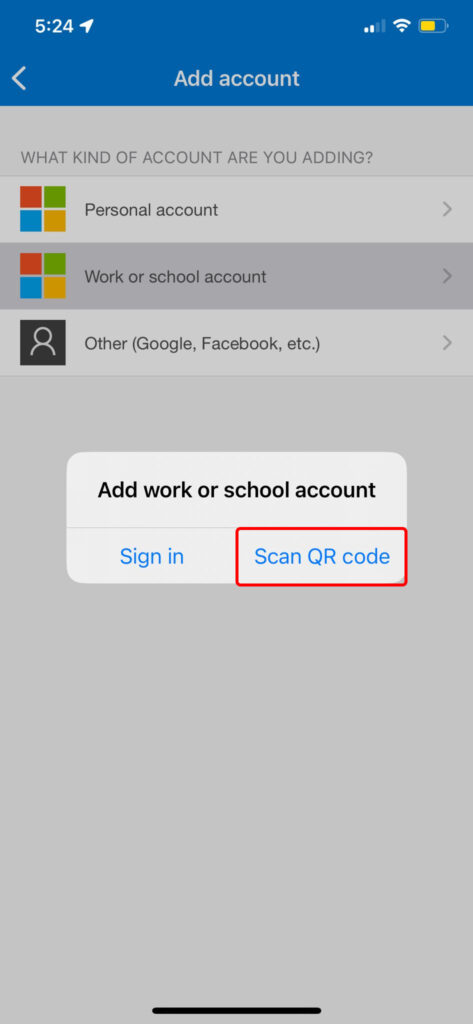
2. Select the 'Work or School account' option.

3. Select 'Scan QR code' option to scan the QR Code.
4. Point the camera at the code on your account QR Code screen to add the account.
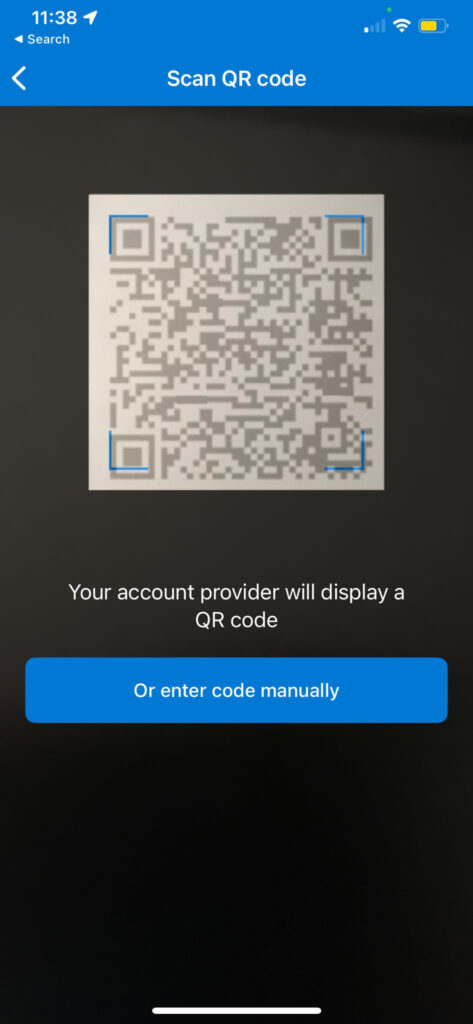
When reading the QR code, it will be automatically added to the account.
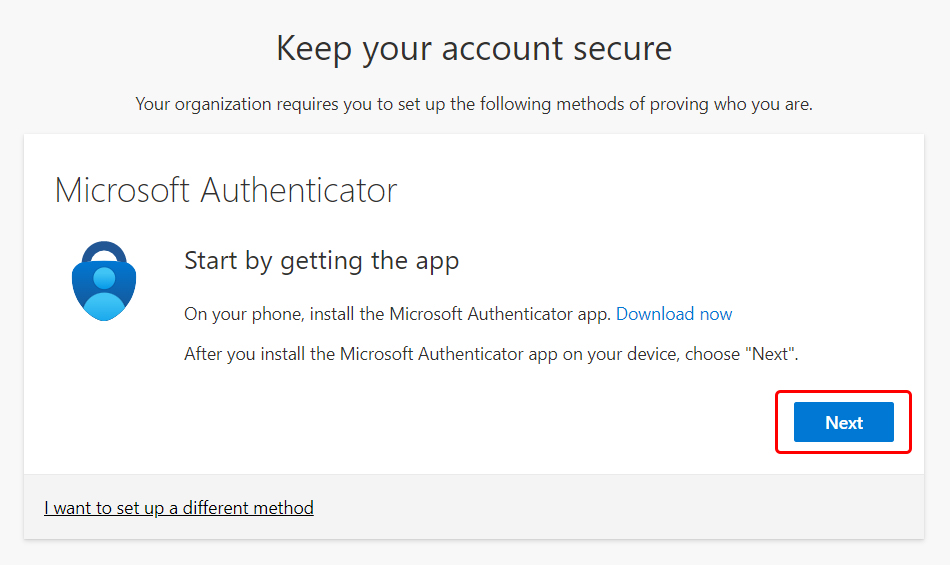
5
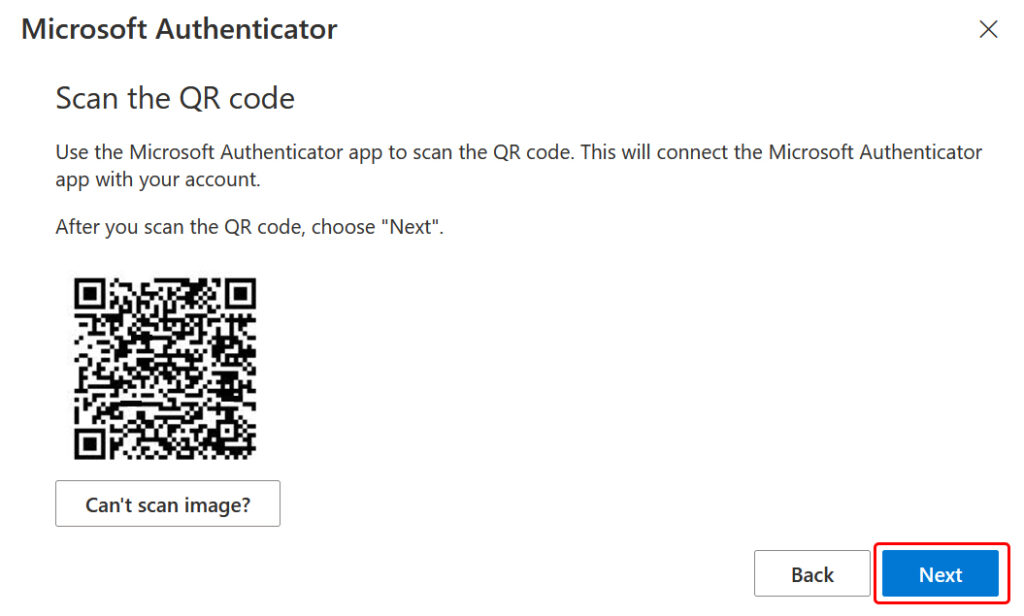
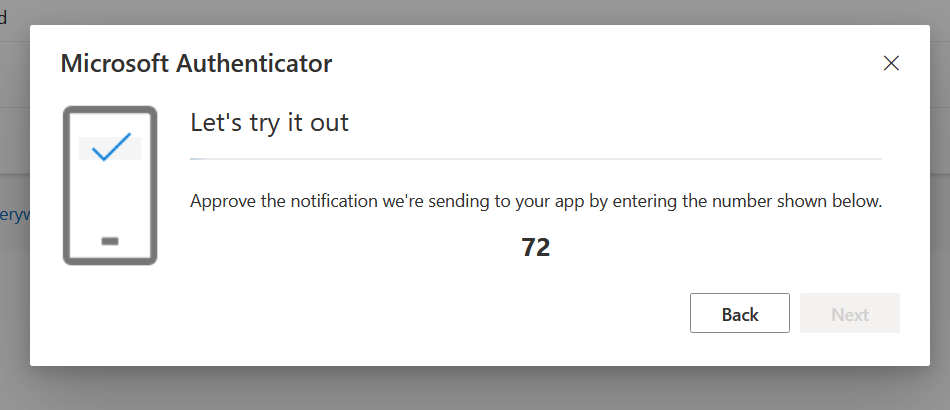
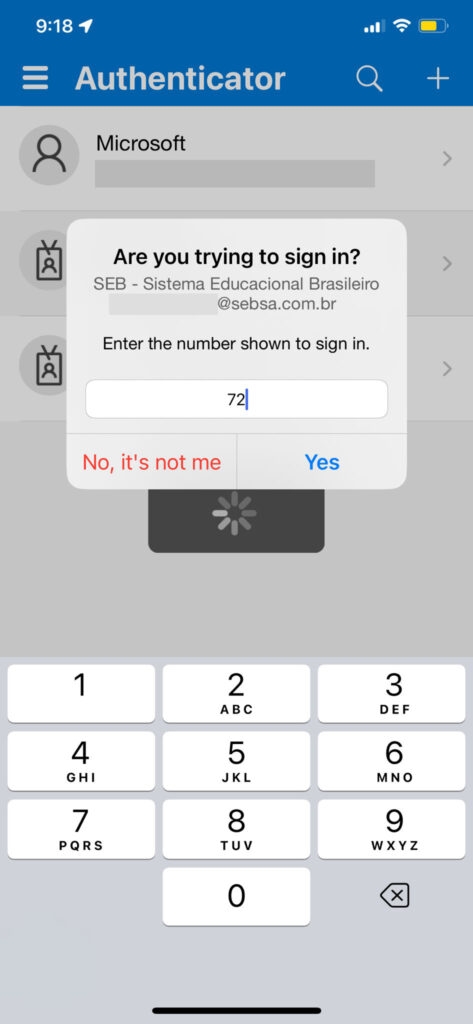
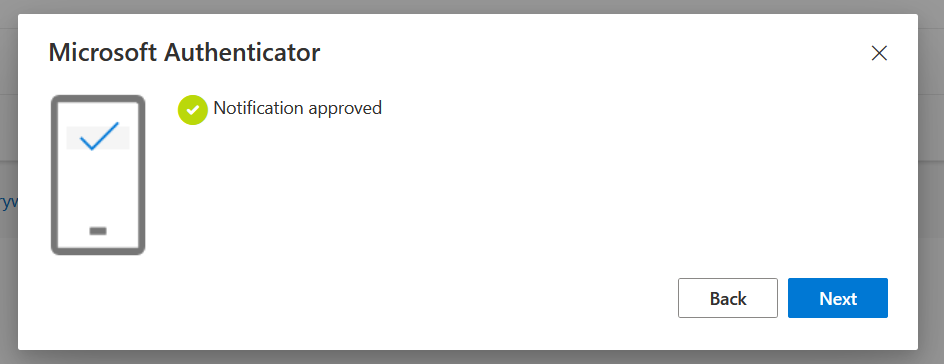
Enter the code generated by the Microsoft Authenticator application and, after activation, click the “Next” button to complete the Microsoft Authenticator setup with your email.
At the end of these steps, your Maple Bear email will be properly configured with Microsoft Authenticator.
Ready! You have successfully installed and configured Microsoft Authenticator on your Maple Bear email account. Now your Maple Bear email account is strengthened and protected with Microsoft Authenticator.
Important recommendations and useful information:
Having an email account is an essential part of Maple Bear communication. To ensure the security of your account and protect your personal information, it is important to follow some security tips to protect your email, such as:
1. Use strong passwords for your email account. Use combinations of upper and lower case letters, numbers and special characters and never share your password with anyone.
2. SMS Verification is an additional layer of security will require a verification code sent to your mobile phone or authentication app every time you log in from an unknown device or other region. This prevents unauthorized access.
3. Be on the lookout for phishing emails, which are attempts to impersonate “trusted” companies to obtain your personal information. Avoid clicking on suspicious links or providing confidential information via email. When in doubt, do not click on links and do not reply to emails.
4. Avoid logging into your email account on public Wi-Fi networks, as they can be less secure.
5. Always log out of your email account when you’re done using it, especially on shared or public devices.
By following these basic security tips, you’ll be better protected against online threats and enjoy a safer Maple Bear email experience.
- Publish date: 27 Fev 2024
- Version: 1.1
- Content Type: Tutorial
- Article ID 000000018
- Author: Fabio J Silva - Webmaster
- Last Reviewed: 26 Fev 2024.
More Outlook:
Can't find what you're looking for?
Maple Bear Global Schools

Maple Bear Global Schools official help site. Support, troubleshooting, security, status of all global platforms and tech tips.
Latest Updates
Tags
Categories
More results...

